
The XS Triple isn't even remotely done (yet) and still, there's a new project dawning on the horizon. I have recently started to gather the parts for a new motor for my trusty old everyday TR1. Originally I had only planned to bore the cylinders to the next oversize and slap the engine back together. But truth be told, the most worn out part of the whole engine are the cases. Nearly every thread of a bolt holding on the sidecovers has been stripped and helicoiled and there must be some small crack on the left side somewhere between the alternator cover and the neutral switch.
Luckily I still have a good set of cases under the bench and then I literally fell over a parted out XV1100 engine that I managed to pick up really, reallly cheap.


Together with some new (used) rods and fresh bearing shells the bottom end is pretty much sorted. Additionally I also managed to score a set of XV700 cylinder heads, which I got today, cleaned up and inspected and then put next to an old XV750 head I still had lying around to show you the differences.


The interesting feature about those XV700 are the two squishareas, whereas a normal XV750 only has got one (larger) squish-area, which also creates an uneven load on the piston and that can be seen with the small ends of the conrods wearing out unevenly.


Of course, one of the new heads came with the mandatory damage to one of the fins... Guess we'll see a bit of ally welding soon.
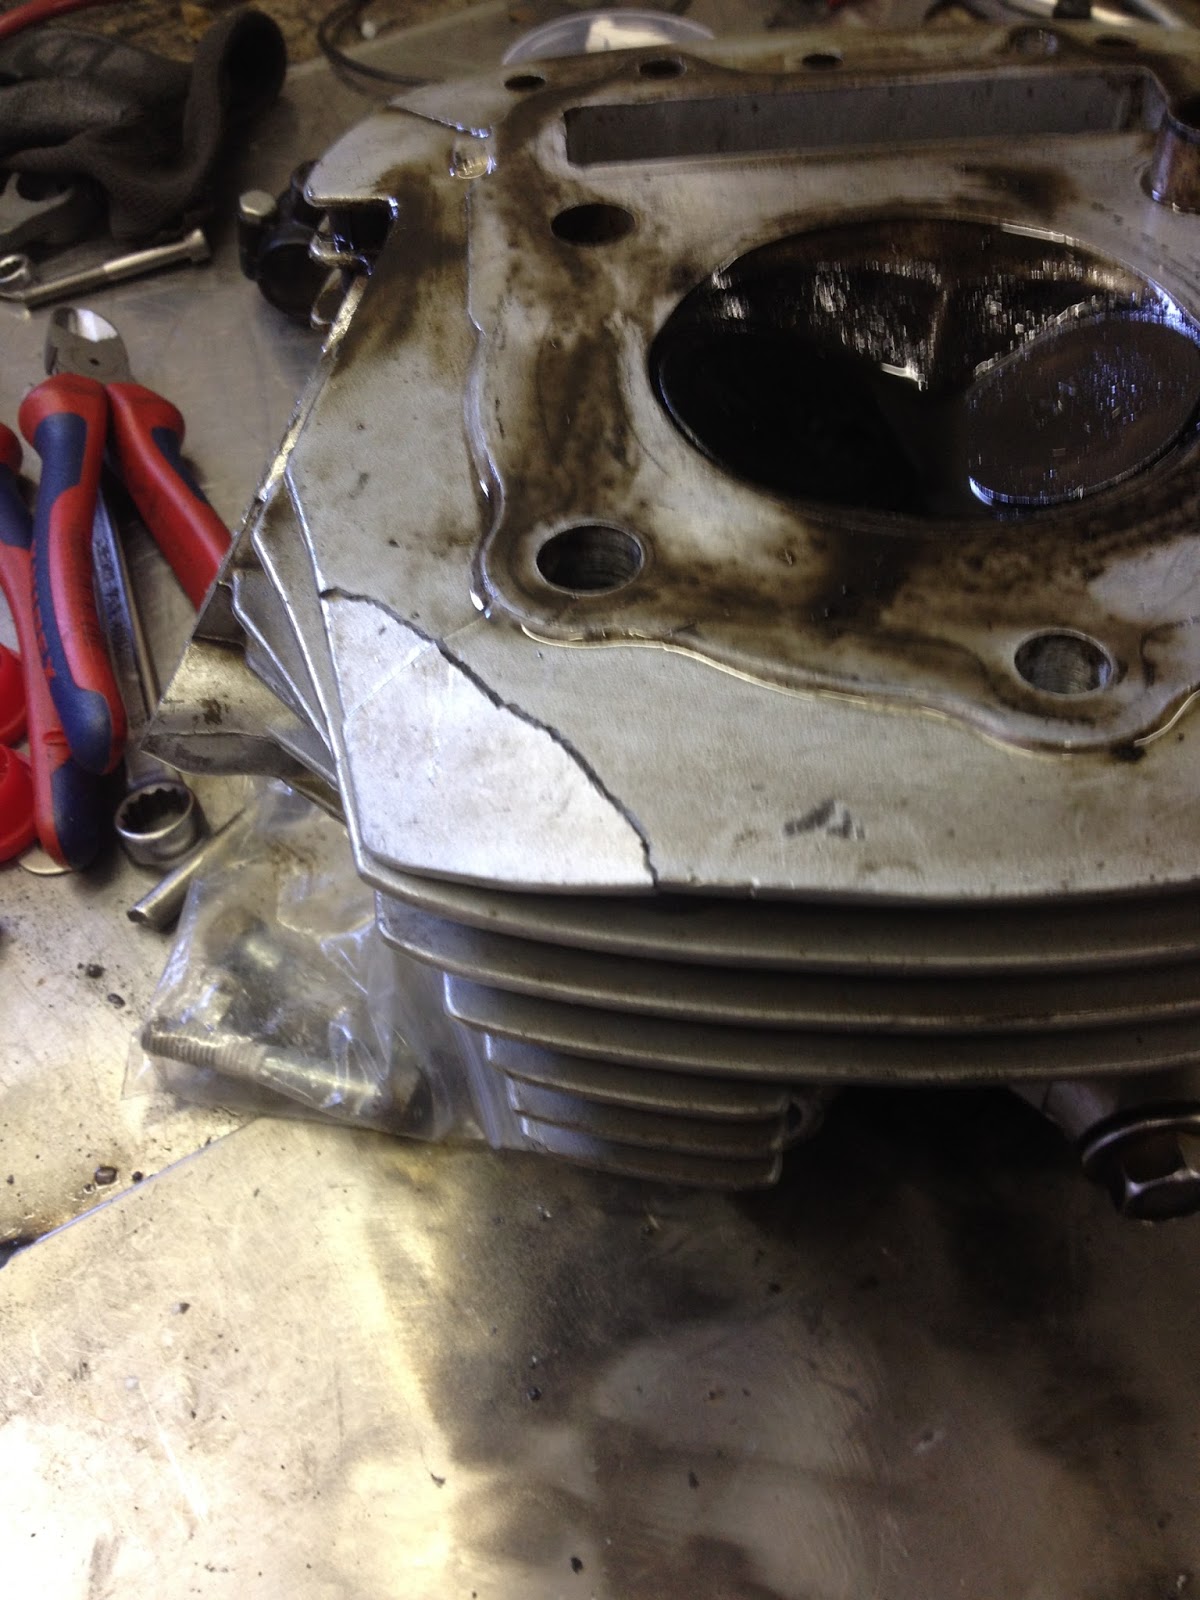
As you can see the on the new XV700 heads, the combustion chamber is basically shifted 5mm to the right. I haven't cc'ed the combustion chamber, but I suspect it might be a bit smaller, but it's also recessed by about 0.5 - 1.0mm so overall the compression ratio should end up the same or only marginally higher.


An absolutely essential part is to clean up all the parts. One of the best methods (I found) to remove old carbon deposits is to use some industrial gasket remover spray, let it do its thing for five to ten minutes and then just brush it off with a soft brass brush and the combustion chamber cleans up nicely.


The other part (as you might have noticed in one of the first pictures) is that one head was increadibly oily and dirty and I found typical kitchen cleaner to be the most effective way to clean off that grime.

As I mentioned before: the next two weeks I'll mostly spend with my books, so only expect some minor updates (if any at all). The next update on this project will most likely be, when I measure the crank and rebuild it with fresh bearing shells and some good (used) rods. To be fair though, it'll probably be at least another four weeks until you hear about this project as I really want to get done with the sidecar before I start a new project.
So many projects, so little time!
ReplyDeleteSo many projects, so little time!
ReplyDeleteSO true unfortunately, which is also why I decided that from 2017 onwards I will focus on less projects overall, but at the same time choose projects where I can dig deeper and which are more challenging.
ReplyDelete