Wednesday, 11 December 2024

Project Pickle - paint primer party. It's my party I can cry, if I want to... (part 9.2)

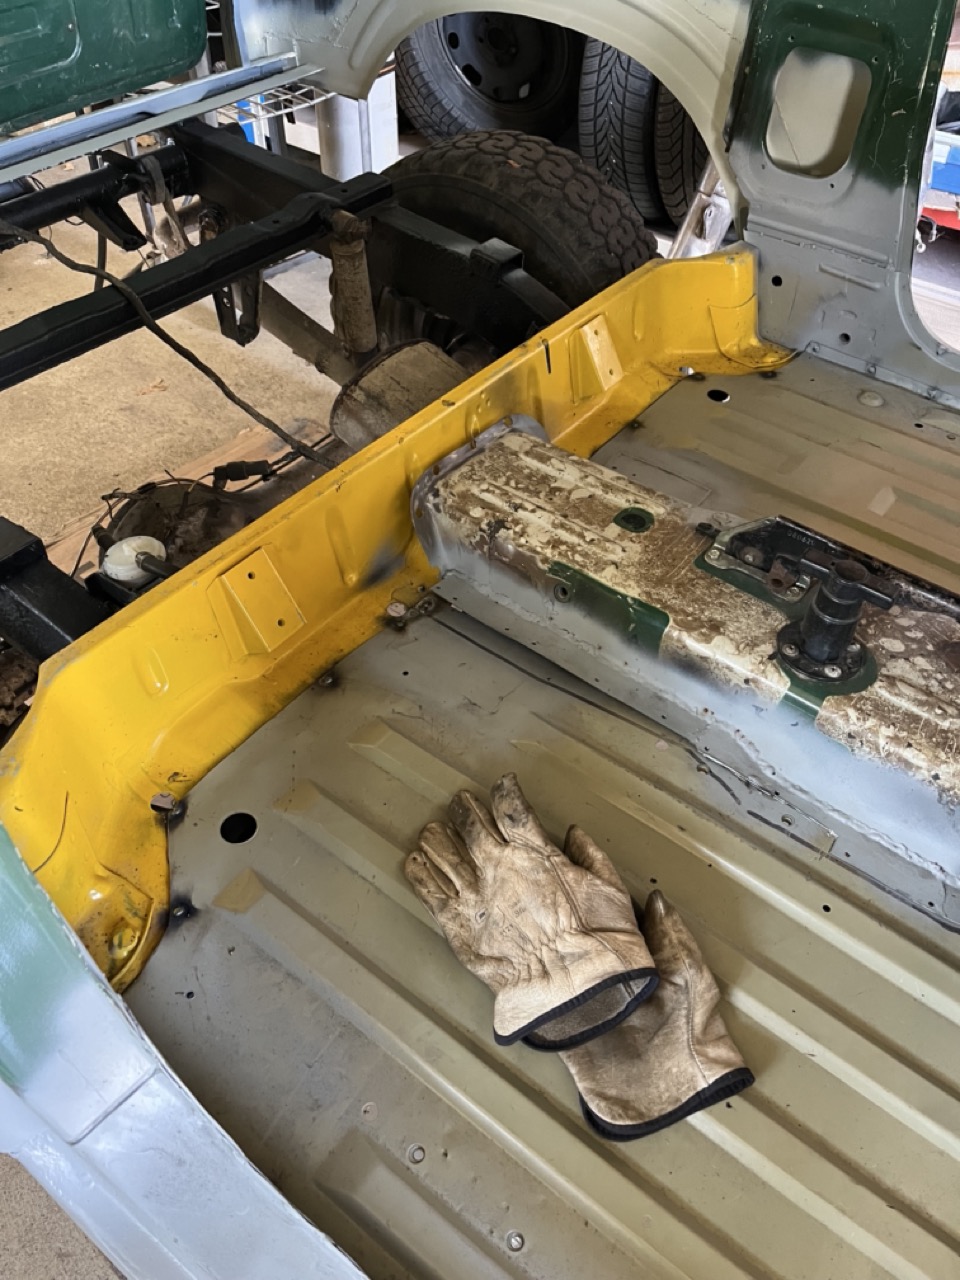
 I'll be honest, I thought I was on a bit of a roll. The metal content of the body was nearing the factory fresh state, everything had come apart without excessive drama and disassembly didn't reveal any new drama. It's a warm afternoon in late September and the car is stripped down as far as it has to.

It was going too well. I was planning to play it safe, whilst I was aware that the paint I used on the Lada wasn't exactly perfect, it was cheap, relatively elastic and last time it was easy enough to use.

There were just two deviations from last time: I used a spray gun and I followed my notes from the Lada whilst someone at the paint manufacturer had changed the recipe, resulting in the primer now being ready for spray paint and not set up to be rolled on thus being much thinner viscosity.


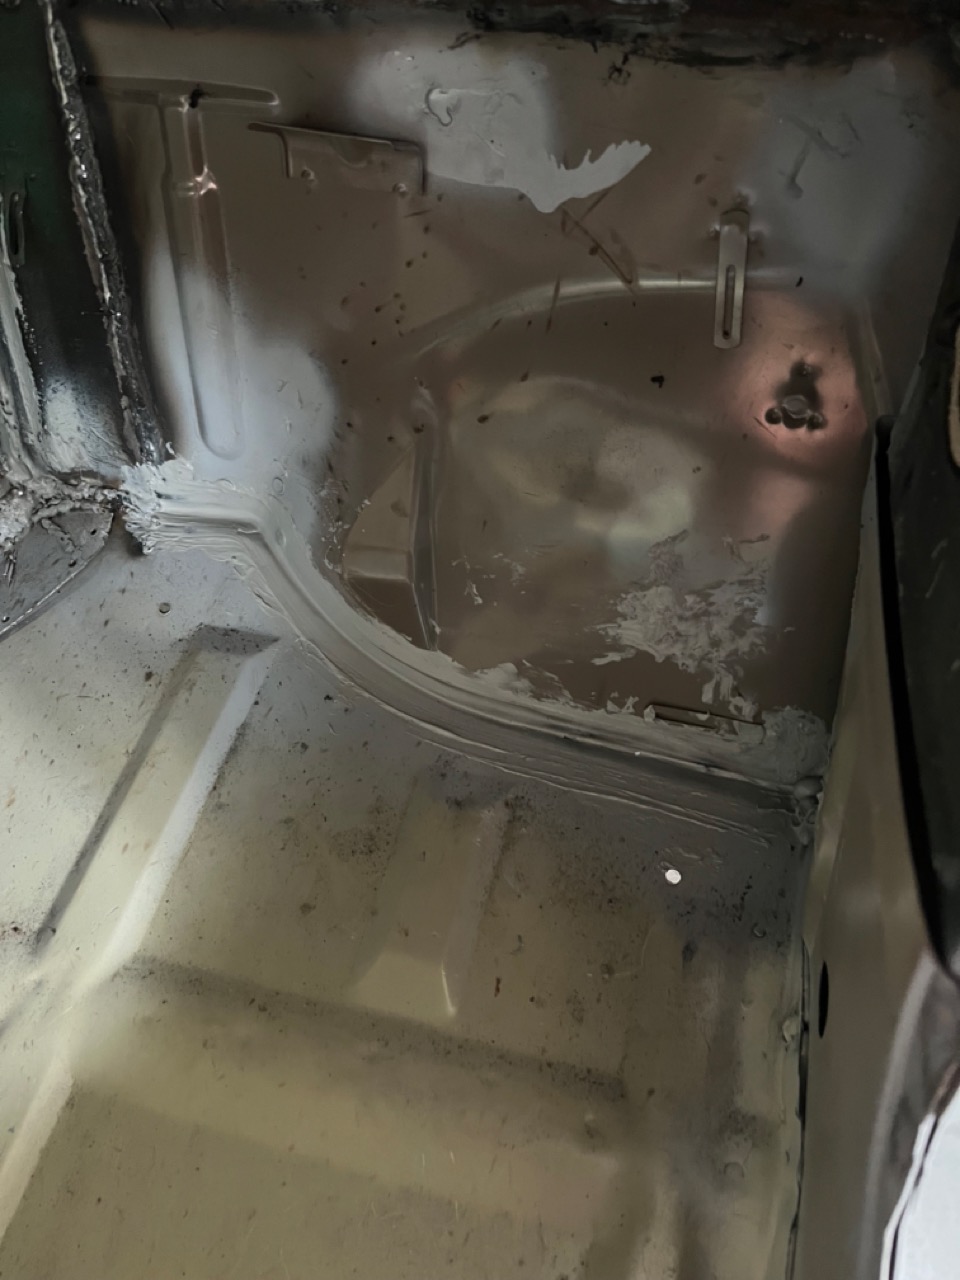
Also it reacted with whatever it was that the previous guy spray (generously) over the lower sections of the interior.


At this point there's two ways of tackling the situation: the correct (professional) way or my way. Get out a set of rollers, push the car into the sun to get the metal to heat up a bit (would probably have been more effective, if I had gone with a darker primer) and roll on the primer nicely thick. Remember: in case of doubt you can always call it art or some kind of statement.


The good thing about September? There's plenty of sun,nice temperatures and with a bit of wind, which means you don't get much more than a quick snack between coats...


Sunday, 8 December 2024

Project Pickle - paint and preparing for it was actually the easy bit (part 9.1)

 In case you haven't seen the status update from about a month, the paint scheme I most seriously considered was this very, very 50ies combination of a light mint green and a cream colored roof. 

You well enough know that this didn't happen, but let me tell you, I was pretty close. Another thing I wasn't even closely done with was to do more seam sealing. In hindsight, I am not even hoping to keep all the water out at this point, I just want to politely show it the sort of the right direction by now. 😉


The oldest joke when repairing old cars? "That'll be the welding part of it done." In this case it mostly has to do with the fact that the old antenna was nearly ripped out of the A-pillar and let the water in, which then resulted in the driver-side sill... you get the idea. Not sure, where I'll put the new one, but it most likely won't be here.


Hard not to notice: the windscreen is out. Compared to the Lada way too easy. Aside from the fact it shattered, because someone had glued the old windscreen rubber in and it was waaay too late, when I realised it. (Or in other words the glass was already cracked.)

The following picture shows the arrangement of all the cables going to air-vent-levers and as I couldn't find ANYTHING similar somewhere on the internet (and no the one from the later models is entirely different), maybe this one will help. Also, if someone knows which ones are hooked up incorrectly on this one... let me know, because the cable for the heater valve is way too long.

(Also some fine craftmanship with the powersupply for the radio bodged onto the cigarette lighter, if I may say so myself...)

With the dashboard mostly cleared out, this left only the heaterbox that needed to be removed. The first two bolts are very, very obvious.

And then there's this one, which goes through the firewall and hides behind the distributor.

Other than that it's just two cooland hoses and the fact that you most likely removed a small ecosystem from the vehicle.


As such, cleaning it out thoroughly and removing whatever lives inside makes quite the difference. (Quite a pile of moldy leaves actually)

Friday, 6 December 2024

Project Pickle - new fuel tank modifications (part 8)

 With the rust issues addressed it was well about time to treat myself to some new parts. As the old fuel tank was almost rusted through and a new one wasn't all that expensive this was a bit of a no-brainer. The only thing the aftermarket tank lacked was a fuel drain. 


Quickly made a very solid disk on the lathe and tapped it M14x1.5, so I can use a magnetic drain plug to catch some of the rust that will inevitably build up over time on the inside.


Top tip: If you plan to fit a copper washer, put it on as soon as possible or you might end up wondering, why that tank is dripping fuel ever so slightly...


Thursday, 5 December 2024

Project Pickle - floorboards aren't quite as overrated: rust (part 7.5)


 When viewed from the outside, little Mr. Pickle was starting to look a lot like a car again. Shame that he was the vehicular impersonation of a Potemkin village, i.e. a lot of facade and not too much behind it. 

As I had decided to work from the front towards the back, the first step was to spot weld the two floorboards to the mid-crossmember. 

A quick fit up of the boot floor and wheel wells revealed that whilst everything fitted substantially better than I dreaded.


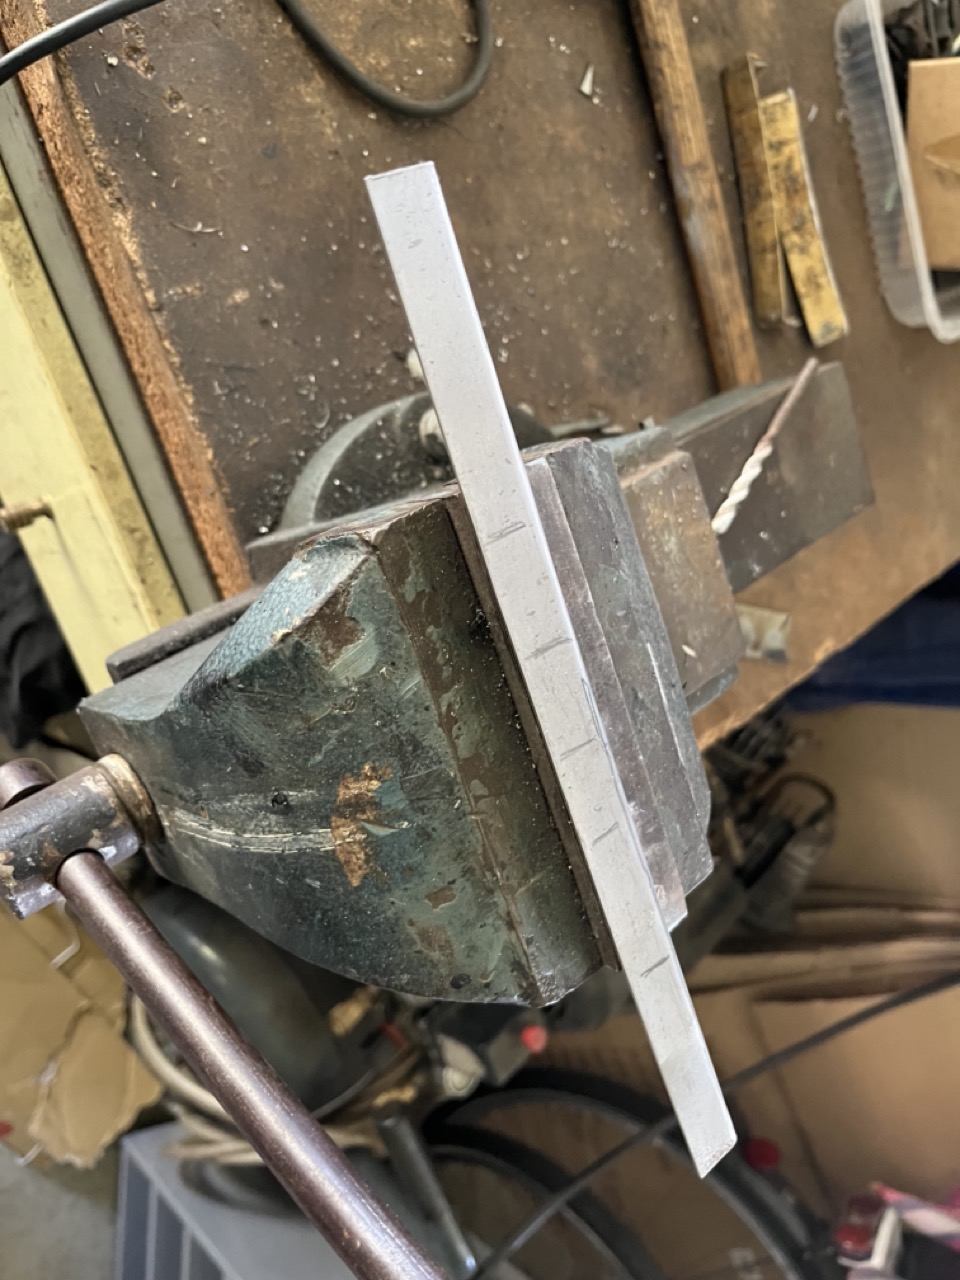
As at the time the correct repair panel for the lower rear door frame was unavailable (and when I saw it later it was waaaaaaay too flimsy anyway), I decided to make it myself from 3mm thick flat bar. Together with a serious amount of cavity wax this should be one of the few spots on the car that shouldn't cause headache down the line. 

With the rear door installed and locked during the welding this is probably now the opening in the cars body with by far the nicest fitup.

One little thing I missed in all this excitement was the fact that the crossmember actually consists of two parts - an inner and an outer. Said inner crossmember will not fit past the transmission tunnel, once the outer is fixed in place. After a moment of being quite unhappy with my own lack of forward thinking, the inner was sliced into three parts.

Getting the boot floor permanently installed was then more or less just a case of a stupidizillion of spot welds. 

The wheel wells were a case of more of the same: Drilling (a lot of) holes for the spot welds...

... and then doing a lot of spot welding.

Only to finish everything off by seam sealing the living daylights out of all those weld joints. 

Which gets a bit trickier, when you have to do it in spots, which you are out of reach later.


With the inside actually finished off it was necessary to do something that would make this mess with wheels look a bit more finished, so I decided to "just quickly" fit the new front wings and grill. I will spare you the gory details, but let me emphasize that neither quickly nor fit properly were something to be achieved quickly and it became rather apparent that Mr. Pickle had been involved in an not quite so minor accident. 


Which lead me to address to the situation at the roof. I had noticed a slightly mouldy scent on the inside and quite a bit of surface rust where the padding of the roof liner touched the roof on the inside. I can only assume that at least for a while Mr. Pickle carried a roof rack and in the course of this, the paint was damaged and the roof slowly rusted through. 


Which left me with one of the last repairs on the rear door pillars and most likely one of the most interesting ones. Let's say I found out after ordering the correct repair panels that the open top and "station wagon" version sport dramatically different rear doors. As such I had to fabricate an S-shaped angle bracket so that the door seal ultimately had somewhere to go. Though it sounds daunting, this turned out to be relatively simple and is in retrospect probably the one bit I am most proud of on the whole car.


... and at this point we're at the end of September.

Friday, 8 November 2024

Project Status Update Winter 2024

It's been a while, but in my defense a lot got done and I promise in the coming weeks, I plan to do quite a bit of catching up on the blog as the Suzuki is getting close to the finish line. So here's a bit of an overview, what's planned for the Winter season/the coming weeks. 


Everyday TR1:

Only a bit of maintenance is due really.

  • Oil- and filter change at (1)35,000km
  • clean and grease the starter motor
  • a good cleaning and greasing
  • throttle cable incl. splitter needs to be changed, because this will create problems rather sooner than later
  • the sub-frame mount of the rear mudguard needs to be addressed as the bolt touches the tire ever so slightly when the rear shock bottoms out (and I already have a solution with a P-clamp that basically only needs to be installed and then that'll solve the issue)

 XT600 - Dre-XT-Stück:

I got a lot more use out of the old girl this year than several of the last few years combined, still to call the old girl "trouble free" is a bit of a stretch.

  • Headbolt threads in the cylinder need to be upgraded with M12-to-M8 adapters like I did it on the pretty one as the left front one is starting to fail and thus leaking oil
  • a road-legal pannier rack is due
  • I still have this KTM Adventure 790 rearshock, which needs an adapter to get it to the right length
  • oil the throttle and clutch cables
  • other than that, a good clean and a bit of TLC should do the trick

SR500 sidecar:

As this one will be used the most, the main thing will be to get it ready for Winter-use.

  • Spray it down with wax to protect the metal parts from the omni-present salt
  • install hand muffs
  • Check which bolts have come loose lately
  • modify the summer wheel to work with the modified sprocket carrier and get a bigger rear sprocket

Suzuki SJ410 - the Pickle:

Not sure, if I'll have this ready at the start of Winter, but we're getting there as the little cube is already painted and mostly there to get inspected. The big things still missing to get it on the road are:

  • fix up the front and rear bumpers
  • repair the wiring and remove most of the rather dodgy fixes
  • make the heater work
  • replace the rear brake drums for the later model ones I have already overhauled (they are self-adjusting and more common, so e.g. the drums are still available as aftermarket parts)
  • get the handbrake working
  • change the various oils and check for leaks and fix those
  • fit the winter tyres (which can mean either fit the tyres with the Winter tyres on them or fit the second set of NEW Winter tyres to the wheels which are currently on there - might in the end by a matter of the available time)

Other vehicles that need fixing:

VX800:

This was probably the let down of the season, because it got new tyres and the started to not run right, which resulted in pulling the fuel petcock (because we assumed it was blocked by rust and also leaking slightly) and that was perfectly alright...

  • convert to electric fuel pump out of a VS750 (chopper version of the same bike) as the diaphragm pump is as dead as nails
  • Repair the petcock threads in the tank because one of the metal-look-a-like bolts stripped part of its threads

Goldwing GL1200 - Volkskrad:

This really "just" needs finishing. We got stuck at the point, when I had to get a repair-kit for the rear brakepump. This has to be installed and then the rest needs to be assembled etc. The future on this one might be rather open really. 

Aprilia Moto 6.5:

Somewhat as predicted the broken regulator/rectifier fried another battery, so this has to be addressed and in an ideal world, I am not going to do that with a stock Ducati-elettronica unit, but something out of Japan. I just have to dig out the necessary specs to find a suitable replacement.

Bandit 1200:

Unless I am mistaken, this one might want (again) a replacement of the clutch slave seal and a good cleanup of the rear brake caliper.

As the avid reader might have noticed, there's quite a few vehicles missing from this list - that's intentional, because this is the stuff that HAS to be done. Everything beyond that is probably a case of how cold (or not) it will be during the Winter and the amount of extra time available for tinkering.


Sunday, 8 September 2024

Dre-XT-Stück - self-retracting sidestand

 Let's assume you have a (pretty) extensively modified motobike in a country with relatively strict laws on the matter and it's time for the annual inspection (TÜV/MOT/call it what you will, you get the idea - overhere it's colloquially simply called "the sticker"). Now the logical assumption would be that the bike failed on one of the more or less obvious modifications and not one of the few bits that were still stock. 

So now we're turning the sidestand into one of the self-retracting variety. (Not that something like this ever existed on an XT600 before 1987 and this one is a mid 1984 model.)


 After looking at how it is done on other Yamahas of the era, I dug out a German model XV750 or XV1000 sidestand and realized the only thing I really needed was a pin to act as an over center pivot.


As that weld has to take ALL of the force of the spring and is under pressure all the time while it is parked on the sidestand, I decided to make a proper weld with the amps cranked up to eleven-and-a-half.


 Looks pretty unassuming and very stock. 


... and that was all it took to pass the inspection.